Physical Address
304 North Cardinal St.
Dorchester Center, MA 02124
Physical Address
304 North Cardinal St.
Dorchester Center, MA 02124
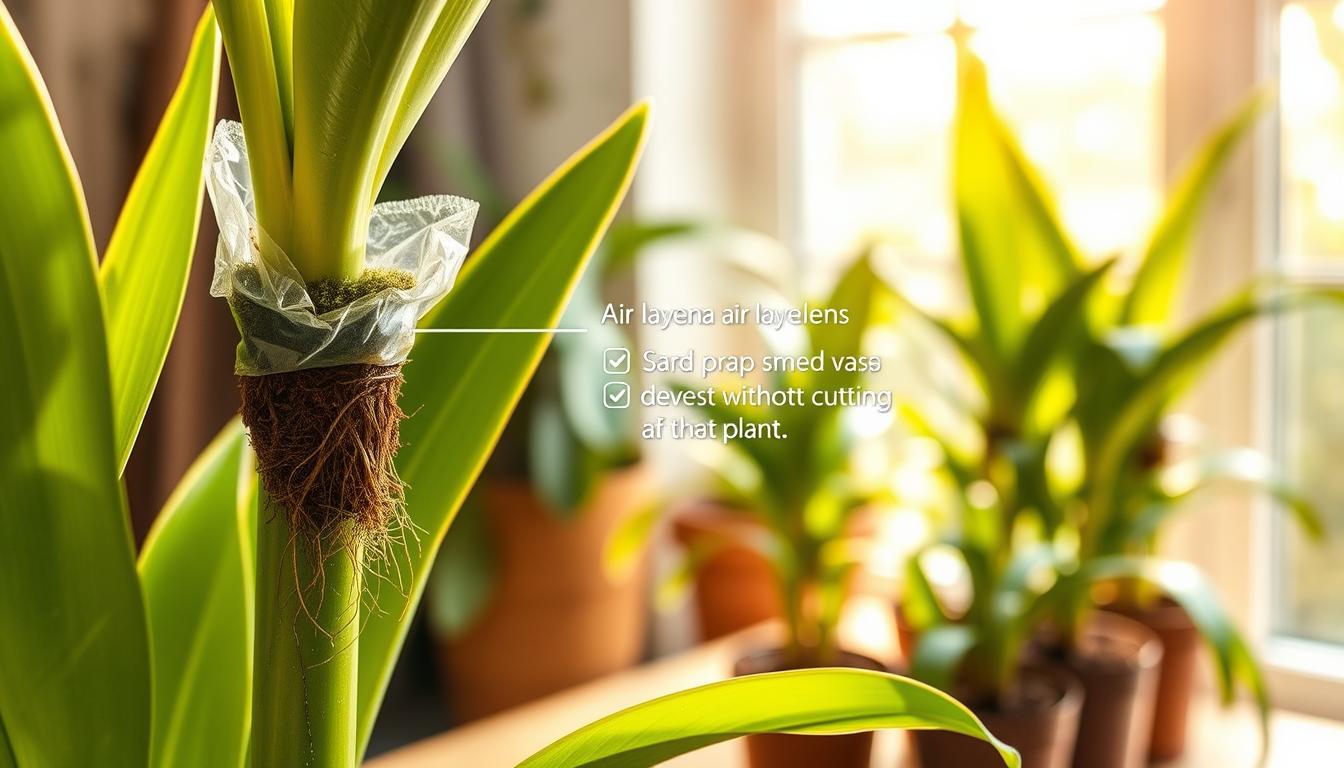
Ever wish you could clone your favorite dracaena without harming the original? Air layering dracaena is a game-changer for plant care. It lets you grow new plants while keeping the mother plant healthy.
Imagine giving your dracaena a second life without the usual stress of cutting. Air layering is a gentle way to multiply your plants. You’ll see roots grow before you separate the new plant, making it more likely to thrive.
Whether you’re new to plants or a seasoned expert, air layering opens up new possibilities. You can grow strong new plants from your current dracaena, with little risk and lots of promise.
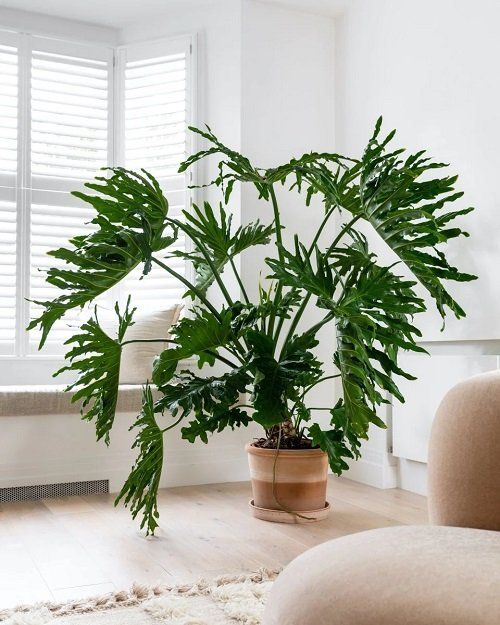
Dracaena plants grow in a unique way, making them great for air layering. They have tall stems and leaf clusters that add beauty to any room.
Dracaena plants have a special structure that makes air layering work well. They grow tall and have leaves at the top. They also shed leaves from the bottom.
Dracaena stems have hidden buds that are key for growing new plants. These buds help gardeners use air layering to create new plants.
“The secret to successful plant propagation lies in understanding the plant’s natural growth mechanisms.” – Plant Propagation Expert
Traditional methods often involve cutting and hoping for roots. Air layering is different. It starts roots before you separate the plant. This method has many benefits:
Traditional methods might take 2-8 weeks to root cuttings. But air layering takes up to 3 months. It creates more robust and established plants. The process stops nutrient flow and starts root growth at a wound site while the stem is still attached.
Air layering is a special way to make new dracaena plants. It lets you grow roots on a stem while it’s still attached to the parent plant. This is better than cutting methods.
The basic idea of air layering is simple but effective. You start root growth on a stem section before cutting it from the mother plant. This method is like how plants naturally reproduce in the wild.
Air layering is a top choice for making new plants from mature or valuable dracaena. It keeps the stem connected during root growth. This way, the new plant gets nutrients and support from its parent.
“In nature, some plants naturally layer themselves by creating roots where branches touch the ground. Air layering replicates this biological process with precision and control.” – Plant Propagation Expert
This method takes more time and effort than simple cuttings. But the benefits are worth it. You get a strong, pre-rooted plant ready to grow on its own. Air layering is a smart choice for your dracaena’s growth.
Getting ready for air layering means picking the right tools and materials. You need the right stuff before starting your project. Having everything ready makes the process easier and faster.
Your toolkit for air layering should have a few key items. These are important for successful propagation:
For air layering, choose unmilled long-strand sphagnum moss. This moss holds moisture well and lets air through for root growth. Make sure to pick fresh, clean, and uniform moss.
| Moss Type | Root Development Potential | Moisture Retention |
|---|---|---|
| Unmilled Sphagnum | Excellent | High |
| Milled Peat Moss | Poor | Low |
Having a clean workspace is key for air layering. Sterilize your tools with rubbing alcohol to avoid disease. Keep all your materials close by for a smooth process.
Pro Tip: Always work carefully and patiently when preparing for air layering to maximize your chances of success.
Choosing the right branch is key in air layering plants. Success depends on picking a healthy part of your dracaena. This part should root well and grow into a strong new plant.
When picking the best branch for air layering, look for these traits:
Find a spot just below a node, where leaves meet the stem. These areas have lots of cells that help roots grow. The section should be long enough for a balanced new plant and keep the mother plant looking good.
| Branch Selection Criteria | Ideal Characteristics |
|---|---|
| Location | 6-12 inches from growing tip |
| Stem Diameter | Pencil-thick |
| Stem Maturity | Partially woody |
| Work Area Preparation | 4-8 inches of clear stem |
Pro tip: Mark your chosen spot with a small piece of tape before starting. This ensures you’re precise during air layering. It also helps avoid mistakes that could ruin your plant propagation.
“The right branch selection is your first step toward successful plant propagation.” – Plant Propagation Expert
Air layering propagation needs precision and careful technique for the initial cut on your Dracaena. This step is key to the success of your plant reproduction. Knowing the right cutting method helps in growing strong roots and a healthy new plant.
To start air layering, you must make a strategic cut on your Dracaena stem. There are two main techniques:
Your cutting technique should stop nutrient flow without cutting the stem completely. Position your hand carefully to avoid slips, keeping your thumb behind the branch for stability.
Keeping the wound open is key for air layering success. Use these support strategies:
The toothpick method keeps the cut open, starting the plant’s natural root formation. By managing the wound well, you’ll create the best conditions for your Dracaena’s successful propagation.

Rooting hormone can really help when you’re propagating Dracaena by air layering. These plants usually root well on their own. But, using rooting hormone can make the roots grow faster and stronger.
Rooting hormone helps by making more root cells. For Dracaena, pick a hormone that’s not too strong. Here’s what you need to know about using it:
How you apply it depends on the type of hormone:
You don’t really need rooting hormone for air layering. If you’re not in a hurry or prefer natural methods, you can skip it. The most important things are making sure the wound is right and keeping it moist.
Pro tip: Work quickly when applying rooting hormone to prevent the wound from drying out.
Air layering dracaena needs careful moss ball prep and wrapping. The right microenvironment is key for root growth.
Start by getting your sphagnum moss ready. Follow these important steps:
Keeping the moss ball moist is vital. It should be damp but not too wet. Right moisture is essential for root growth.
Wrapping the moss ball needs precision. Use a clear plastic sheet, about 12×18 inches, to cover your dracaena cutting.
Your aim is to keep the area humid for root growth. With attention, you’ll set up the best conditions for air layering dracaena.
Learning how to air layer Dracaena requires patience. Watching root growth is key. You’ll see roots start to grow in 3-6 weeks if everything is right.
Wait until you see abundant root growth. Look for 5-8 roots that are about an inch long. They should start to circle inside the plastic wrap. Don’t unwrap too often, as it can harm the roots.
Good conditions are important for air layering success. Keep the temperature between 70-80°F and provide bright, indirect light. Roots grow faster in spring and summer than in winter.
It’s also important to manage moisture. If the moss looks light tan, open the top twist tie and add a tablespoon of water. Close it right away to keep the air moist.
Air layering propagation is exciting when you’re ready to separate your new Dracaena plant. This step needs careful observation and precise technique for successful growth.
Knowing when to separate your air layered Dracaena depends on root growth. Look for these signs:

Here’s how to separate your air layered Dracaena:
Use clean, sharp pruning shears for a single cut 1-2 inches below the roots. Pro tip: Leave the sphagnum moss ball intact to minimize root disturbance.
| Action | Purpose |
|---|---|
| Clean Cut | Prevent stem crushing |
| Moss Preservation | Protect developing roots |
| Gentle Handling | Reduce plant stress |
After separation, place your new Dracaena in a shaded area. Mist the foliage to help it adjust to its new life.
After you’ve successfully grown your dracaena through air layering, it’s time to pot it up. The right pot and method are key for your cutting’s health and growth.
Choose a pot that’s just a bit bigger than your root ball. A pot up to 6 inches in diameter is perfect for most air-layered dracaena cuttings. This size helps avoid too much soil, which can cause root rot.
Moisten your potting soil well but not too wet. Put a layer of damp soil at the pot’s bottom. This should be enough to place your plant about an inch below the rim.
Put your air-layered cutting in the pot, keeping the moss ball in place. Gently spread out any roots over the soil. Then, fill in around the plant with more moistened soil, pressing gently to remove air pockets.
Water well to settle the soil and help roots grow. Place your new dracaena in bright, indirect light. Keep the soil moist for the first few weeks.
After air layering your dracaena, you need to care for both the original plant and the new cutting. This method requires careful attention to ensure both plants stay healthy.
The best time to start an air layering project is also during the active growing season (spring/summer), when the plant has the energy to produce roots.
Your mother dracaena will start healing quickly after air layering. New growth will appear from dormant buds on the stem in 2-3 months. To help it recover:
Your new dracaena needs gentle care in its first weeks. To avoid transplant shock, keep conditions similar to the mother plant.
| Care Aspect | Recommended Approach |
|---|---|
| Watering | Check top inch of soil, water when dry |
| Light | Bright indirect light |
| Temperature | 65-80°F |
| Fertilization | Avoid for first 4-6 weeks |
Look for signs of successful establishment, like new leaf growth and firm stem. With patience, your air-layered dracaena will flourish in its new home.
Air layering is a great way to make your dracaena plant into two healthy ones. It’s a method that lets you grow new plants with roots before they’re fully separate. This is a powerful technique to learn.
It takes patience, but the results are worth it. You’ll get to make your dracaena look better and grow a new plant. Knowing how to air layer is key, from picking the right stem to watching the roots grow.
Learning to air layer dracaena can also help with other plants. Once you get the hang of it, you’ll see it works for many houseplants. Each time you try, you’ll get better and enjoy the journey more.
Success in air layering depends on paying attention to a few things. Make sure the area stays moist, create the right wound, and watch the roots grow. With time, you’ll make your indoor garden grow, one air-layered plant at a time.