Physical Address
304 North Cardinal St.
Dorchester Center, MA 02124
Physical Address
304 North Cardinal St.
Dorchester Center, MA 02124
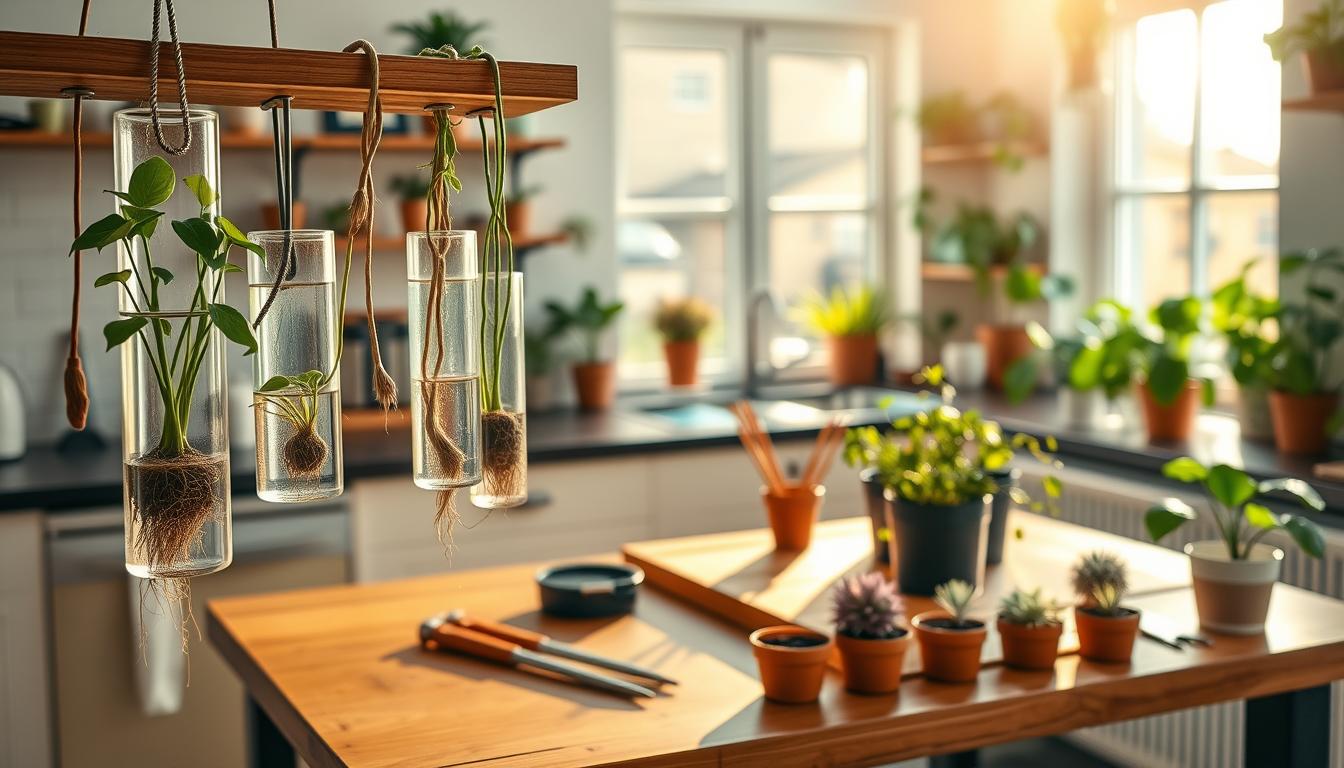
Do you remember the first time you saw a small cutting grow into a new plant? That moment sparked my journey into creating a home propagation station. It’s a simple way to grow your indoor garden without spending a lot.
Starting DIY plant projects can open up a world of possibilities. A propagation station is more than just glass containers. It’s a place where new plants grow from cuttings. Whether you’re experienced or new to gardening, setting up your own station is very rewarding.
This guide will show you how to make a propagation station that fits your needs. You’ll learn about the materials you need and how to grow plants. You’ll see how easy and fun it is to propagate plants.
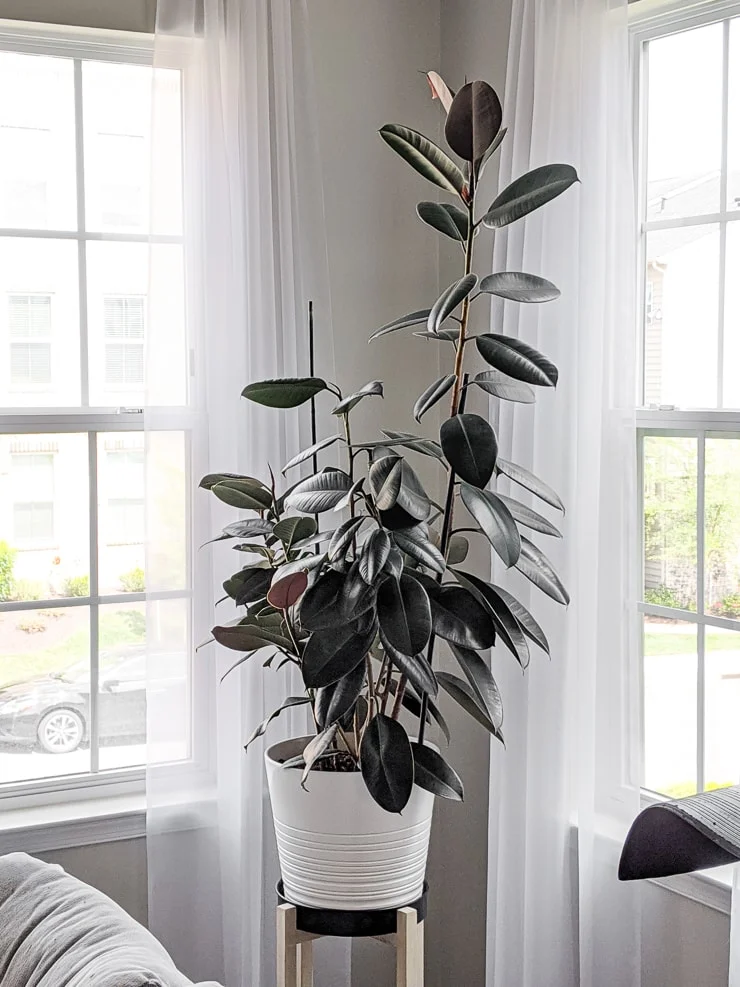
A plant propagation station is a creative way to grow new plants from old ones. It turns your home into a lively indoor plant collection. This setup lets you easily and affordably multiply your favorite houseplants, making it a fun botanical adventure.
Propagation stations give plant lovers a special place to grow new plants. They can be simple glass containers or fancy wooden displays. This makes them fit well in any home.
Having your own propagation station has many benefits:
You can pick a propagation station that fits your home’s look and space. Here are some options:
Whether you’re new to plants or already love them, a propagation station can change how you grow and enjoy houseplants. Start your plant journey today and watch your indoor garden grow!
Building a diy propagation station needs careful planning and the right tools. You’ll need basic woodworking tools and creative ideas for using scrap wood.
| Category | Specific Items |
|---|---|
| Wood Components | Scrap 1×2 board (15″ long), 1×3 board (21″ long), dowel rod (½” or ¾” diameter) |
| Adhesives | Fast-dry wood glue |
| Propagation Vessels | Test tubes for propagation, glass jars |
Your test tubes for propagation will be the main attraction. Pick clear glass tubes to watch root growth. Use scrap wood to create a beautiful display for your plant cuttings.
The beauty of a diy propagation station is its flexibility. You can make a stunning plant display with materials you already have. It’s eco-friendly and budget-conscious.
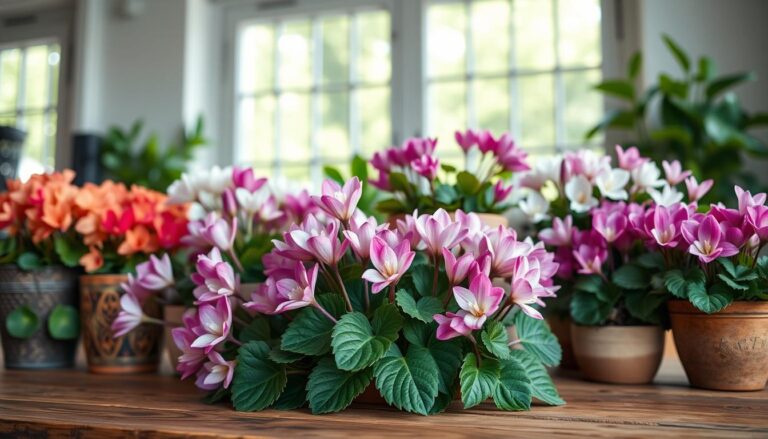
Starting a plant propagation station is exciting. It begins with picking the right plants. Some plants are easier to grow than others. Choosing the right plants makes your journey fun and rewarding.
Beginners should pick plants that grow quickly and are easy to care for. These plants will help you learn and grow your plant care skills.
Water propagation is a cool way to see roots grow. Here are some top picks:
Succulents are great for soil propagation. They need different care than water-based plants.
Your plant station can grow into a thriving garden. Start with these easy plants and watch your garden grow!
Creating a diy propagation station from scrap wood is a fun project. It turns leftover materials into a beautiful spot for plant cuttings. This modern station is a great way to care for new plants and add natural beauty to your home.
Your project will make a sleek, useful piece that shows off your plant care skills. It’s easy to do and doesn’t need much woodworking knowledge.
Start by picking the right materials for a successful modern station. You’ll need:
Drilling holes accurately is key for a professional-looking station. Here’s how to do it:
Now, put your project together carefully. Here are some tips for a strong build:
| Step | Technique |
|---|---|
| Wood Preparation | Sand all pieces thoroughly |
| Angle Cut | Use 20-degree bevel for base |
| Gluing | Use fast-drying wood glue |
| Finishing | Apply wood butter for protection |
Your finished diy propagation station will be a conversation-starting piece. It will show off your plant care and woodworking skills.
Turn old fence wood into a beautiful diy propagation station. It will add charm to your home plant collection. This project uses upcycled materials to create a rustic display.
Choose fence boards with unique grain and texture. Look for weathered pieces for the best rustic look. Make sure they are straight and not damaged too much.
Your diy propagation station will be a unique conversation starter. It shows off your creativity. Pro tip: Use a safe-cut can opener to remove lids, ensuring smooth edges for your plant containers.
“Upcycling isn’t just about recycling—it’s about reimagining the potential in everyday materials.” – Green Living Enthusiast
To make the mounting system, drill small holes near the top of your fence wood. Attach pull-tabs or decorative hooks to hold your plant containers. For extra stability, use L-brackets to make secure shelves for your glass bottles or test tubes.
The last step is to seal your rustic plant display. Use a clear protective sealant to keep the wood safe and dry. Your unique propagation station is now ready to show off new plant growth in style!
To create successful propagation stations, you need to know how to root different houseplants in water. This method can help you grow more plants easily. It makes indoor gardening fun and rewarding.

Each plant has its own needs for water propagation. Learning these methods can help you grow your plant collection quickly and with little effort.
Pothos and philodendrons are great for beginners. They root fast and are easy to care for:
For heart-leaf philodendrons, look for root-like protrusions on the stem. These areas are perfect for initiating new root growth in your water propagation methods.
Many common rooting problems are solved by giving cuttings the right environment. A well-set-up propagation station provides consistent light and humidity, setting your cuttings up for success from day one.
Some houseplants need special techniques for rooting:
Your propagation stations can become a thriving hub for plant reproduction with these simple water propagation techniques. Experiment with different plants and enjoy watching new roots emerge!
To set up a home propagation area, you need to know how to root different plants. Succulent propagation is a fun way to grow more plants with little effort and cost.
Soil is better for succulents than water. These plants thrive in soil because of their special needs. Here’s how to propagate succulents:
Pro tip: Start with easy plants like Burro’s Tail and Jade. They grow new plants from leaves or segments easily.
“Patience is key in succulent propagation. Some plants may take weeks or months to show root development.” – Plant Propagation Expert
Herbs also grow well in soil. Woody herbs like rosemary and thyme do best with green tips. Cut 4-6 inch stems, remove leaves, and plant in rich soil.
With these soil techniques, your home can become a lush garden. Keep your new plants in bright, indirect light and water them regularly for the best growth.
Setting up a propagation station is just the start. Your care tips are key to success. Keeping your new plants healthy from start to finish is crucial.

Keeping your station clean and well-lit is essential. This helps your cuttings grow strong roots.
Water quality is vital for your station’s success. Here are some important tips:
Knowing when to move your cuttings is important. Each plant has its own needs:
| Plant Type | Root Length | Transfer Recommendation |
|---|---|---|
| Pothos/Philodendron | 2-3 inches | Ready for soil transfer |
| African Violets | 1/4 inch | Prepare small 2-inch pot |
| Succulents | 1/2 inch tall | Transfer to individual pot |
Protect your wooden station with oil. Check your cuttings often. Replace them as they grow roots to keep your station busy.
Creating a plant propagation station turns your indoor gardening into a fun, creative journey. You learn to care for plant cuttings and make a beautiful display. This brings life to your home.
Every station is a chance to grow your plant collection without spending a lot. You might have picked a sleek wooden setup or a cozy upcycled one. Either way, you’ve made something special that shows your creativity and love for nature.
Starting with easy plants like pothos or spider plants boosts your confidence. Your station becomes a place to learn and grow. Each new plant shows your patience and skill in nurturing life.
Propagation success is about enjoying the journey, not just the end result. Share your progress and skills with others. Your DIY station is a doorway to caring for plants in a sustainable way.