Physical Address
304 North Cardinal St.
Dorchester Center, MA 02124
Physical Address
304 North Cardinal St.
Dorchester Center, MA 02124
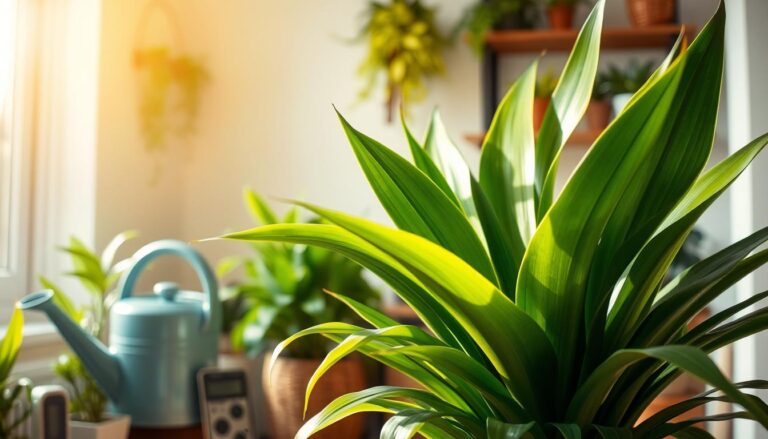
Every plant parent knows that magical moment when your indoor green companion starts whispering it’s time for a change. Dracaena plants, with their elegant, sword-like leaves, are no exception. Repotting dracaena isn’t just a task – it’s an act of plant love that breathes new life into your cherished botanical friend.
Indoor plant care tips often overlook the critical process of repotting, but for dracaena plant indoor care, this step is crucial. These tropical beauties can grow up to 15 feet tall, transforming from modest tabletop companions to dramatic room centerpieces. Knowing when and how to repot ensures your dracaena continues to thrive and beautify your living space.
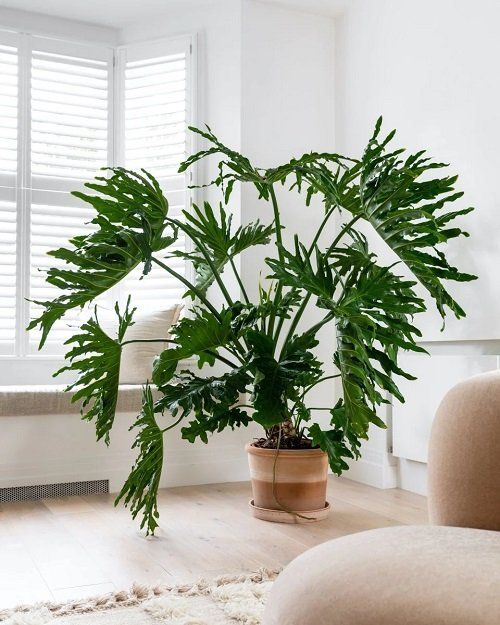
Whether you’re nurturing a compact Dracaena Lisa or a towering Corn Plant, this comprehensive guide will walk you through every aspect of repotting. From recognizing the right moment to transplant to creating the perfect environment post-move, you’ll gain the confidence to support your plant’s growth journey.
Knowing when to repot your dracaena is key to keeping it healthy. Dracaena care involves watching your plant’s growth and health closely. These plants show clear signs when they need a new pot.
Being root-bound can harm your dracaena. Look out for these signs:
Your dracaena will give you clues when it’s time to repot:
| Indicator | What to Look For |
|---|---|
| Growth Slowdown | Reduced leaf production or smaller leaves |
| Soil Conditions | Compacted soil, poor drainage, mineral buildup |
| Watering Changes | Soil dries out extremely quickly |
Pro Tip: Dracaenas tolerate being slightly root-bound, but extreme crowding will halt their growth.
Watching your plant closely is crucial. While dracaenas are easy to care for, noticing these signs ensures your plant stays healthy and thrives.
Timing is key when repotting dracaena. Your indoor plant care should focus on the best season for transplanting. Spring and early summer are the perfect times, as your dracaena is growing the most.
The best periods for repotting dracaena include:
These months offer the best chance for your plant to grow. Warmer temperatures and more daylight help roots settle faster in the new pot.
Climate affects the best time to repot. In places like southern California or Florida, you can repot until early October. But in colder areas, finish by late August.
Try to avoid repotting in winter. Dracaenas slow down in cold weather, making recovery harder. Wait until your plant is actively growing before transplanting.
Pro tip: Watch your dracaena’s growth patterns and choose a day with stable temperatures for the best repotting experience.
Choosing the right pot size is key for your Dracaena’s health and growth. The right container is crucial for your Dracaena Plant Indoor Care routine.
Understanding pot sizing helps avoid common mistakes. Dracaenas do best when they’re a bit snug in their pots. This might surprise new plant owners.
Choosing the correct pot size is more than just looks. A pot that’s too big can cause problems:
For successful repotting, increase the pot size by 1-2 inches. A 10-inch pot should go to a 12-inch or 14-inch one at most.
Drainage is crucial for Dracaena Plant Indoor Care. Your new pot needs 4-6 drainage holes for larger pots. This stops water from causing root damage.
Here are some pot material options:
By picking the right pot size and ensuring good drainage, you’ll give your dracaena the best chance to thrive and grow.
Making the right soil mix is key for repotting dracaena. Your plant’s health depends on a mix that drains well and is full of nutrients. This mix should prevent root rot and help your plant grow strong.
Dracaena plants do best in soil that holds moisture but also drains well. They need a special mix that keeps their roots happy and healthy.
Now that you’ve mixed the perfect soil, here’s exactly how to use it. Our step-by-step repotting guide walks you through removing the plant, prepping the new pot, and settling your Dracaena into its fresh home.
Drainage amendments are crucial to stop waterlogged roots. Here are some great options:
For a simple mix, try this: Mix equal parts cactus soil, perlite, and peat moss. When picking potting soil, go for peat-based mixes made for indoor plants.
Pro tip: Add compost or worm castings to give your Dracaena long-term nutrition. While regular potting soil works for now, a special mix keeps your plant healthy.
Starting with the right preparation is key to successful indoor plant care. Repotting dracaena needs careful planning and the right tools for a smooth process.
Before you start, collect these essential items. They will make your plant care journey easy and worry-free.
Set up a clean area for repotting dracaena. This will help avoid mess and improve plant care. Choose a spot with good light, like a kitchen counter or a covered outdoor area.
| Workspace Preparation Checklist | Recommended Action |
|---|---|
| Surface Protection | Use drop cloth or newspaper |
| Lighting | Bright, indirect natural light |
| Tool Placement | Arrange all materials within easy reach |
| Plant Preparation | Water 1-2 days before repotting |
Pro tip for Indoor Plant Care Tips: Water your dracaena 24-48 hours before repotting. This makes the roots moist but not too wet, making transplanting easier.

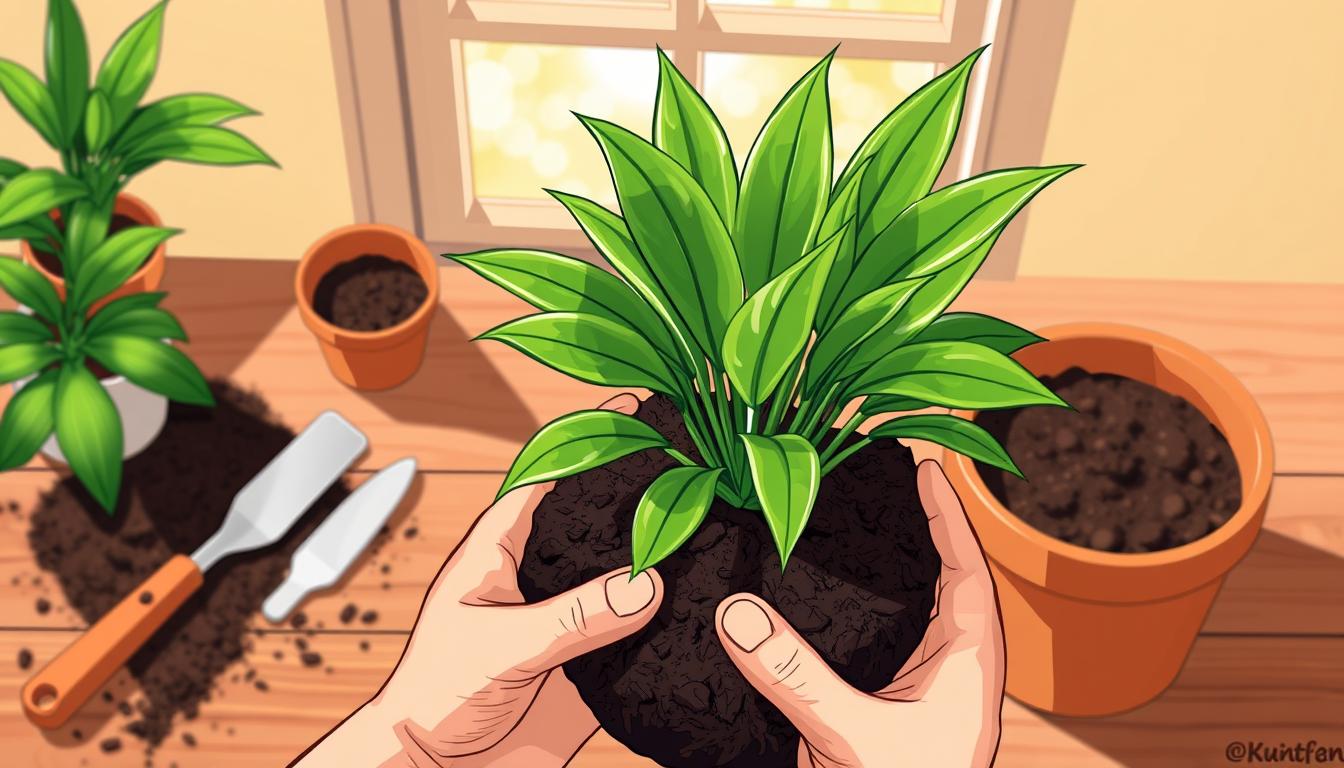
Repotting dracaena is key to keeping your indoor plant healthy and lively. It might look hard, but with the right steps, you can move your dracaena to a new home.
First, get all your tools ready and clean your workspace. Make sure your tools are clean to avoid harming your plant.
When putting your dracaena in the new pot, make sure it’s at the same depth. Leave about 1/2 inch of space at the top for water.
| Repotting Step | Key Considerations |
|---|---|
| Root Inspection | Remove dead or rotting roots, untangle compact root balls |
| Soil Placement | Use fresh, nutrient-rich potting mix |
| Plant Positioning | Center plant, maintain original growth depth |
After repotting, put your dracaena in indirect light. Don’t fertilize for a month to let it settle.
Repotting dracaena can be tough with big plants. You need good indoor plant care tips for tall, heavy dracaena plants. They need special care when you transplant them.
Big dracaena plants need a careful plan for safe handling and less stress during repotting. Your indoor plant care plan must handle the unique challenges of these big plants.
When working with tall dracaena plants, preparation is key. Use protective measures to prevent leaf damage and ensure smooth movement of your plant.
| Technique | Purpose |
|---|---|
| Use wheeled plant caddy | Prevent back strain when moving heavy plants |
| Loosen root ball carefully | Minimize root damage during extraction |
| Lift with proper technique | Protect yourself and the plant from injury |
Dracaena plant indoor care needs special techniques for big root systems. A careful approach keeps your plant healthy and makes repotting easier for you.
By using these special techniques for repotting dracaena, you can handle even the biggest indoor plants with confidence and care.
Learning how to water your dracaena after repotting is key for its health. The first time you water it is very important. It helps your plant get used to its new home.
Here are some important tips for watering your dracaena after repotting:
Start by gently watering around the base of the stalks. Focus on the original root ball. Avoid saturating the entire new soil mass. The roots haven’t grown into the new soil yet.
How often you water depends on the season:
Tip: Check soil moisture by inserting your finger 1-2 inches deep. Water only when the top layer feels dry. Dracaena’s thick canes store water, so they need less water than other plants.
Wait about 8 days after repotting before watering again. This lets the plant settle and recover from transplant stress.
After repotting your dracaena, it’s time to focus on care and placement. Your indoor plant care tips will help it recover and thrive. This is crucial for your plant’s health.

Proper placement is essential for your dracaena’s recovery. It needs the right conditions to adjust and grow strong.
Here are the key placement guidelines for repotting dracaena:
Your dracaena might look stressed after repotting. This is normal for easy care indoor plants.
What to expect during recovery:
Wait at least one month before fertilizing. Look for new growth and stable leaf color. With patience and proper care, your dracaena will soon be healthy and vibrant again.
Repotting dracaena can be tricky, even for experienced plant owners. Knowing these common mistakes helps you care for your indoor plants better. This way, your green friend will thrive.
Overwatering is a big mistake after repotting. Your dracaena needs very little water during recovery. Less is more when hydrating after repotting.
“Treat your dracaena like a patient recovering from surgery – gentle care is key.”
Root-bound plants need careful handling. Always gently loosen compacted roots to help them grow. Don’t bury plant canes too deep to avoid stem rot.
Avoiding these mistakes will help you repot dracaena like a pro. You’ll keep your indoor plant healthy and vibrant, adding life to your space.
Repotting dracaena can sometimes trigger stress responses in your plant. It’s important to know how to recognize and address these issues for successful Dracaena Plant Indoor Care. Even with the best techniques, your plant might experience some temporary setbacks during the transition.
Transplant shock is a normal part of plant relocation. Knowing how to manage it can help your dracaena recover quickly. Easy Care Indoor Plants like dracaena are resilient, yet they still need careful attention during repotting.
Your dracaena might display several stress indicators after repotting:
To help your dracaena recover from transplant shock, try these strategies:
Remember that recovery can take several weeks. Be patient and avoid fertilizing until your plant shows clear signs of new growth. With attentive care, your dracaena will bounce back and continue thriving in its new home.
Repotting dracaena doesn’t have to scare you. With the right knowledge, you can care for these beautiful Easy Care Indoor Plants. Knowing your plant’s needs and following a step-by-step guide is key.
Your dracaena will grow well if you care for it right. Whether it’s small or big, the techniques you’ve learned will keep it healthy. Taking the time to repot properly will make your dracaena thrive and brighten your home.
Every time you repot, you get better at caring for your plants. Paying attention to signs of root binding and choosing the right pot size is important. Using a good soil mix helps your dracaena grow well. With practice, you’ll become great at Dracaena Plant Indoor Care.
Your adventure with dracaena is just starting. Be patient and enjoy watching your plant grow with each repot. These plants are not only beautiful but also clean the air, making them perfect for your home.