Physical Address
304 North Cardinal St.
Dorchester Center, MA 02124
Physical Address
304 North Cardinal St.
Dorchester Center, MA 02124

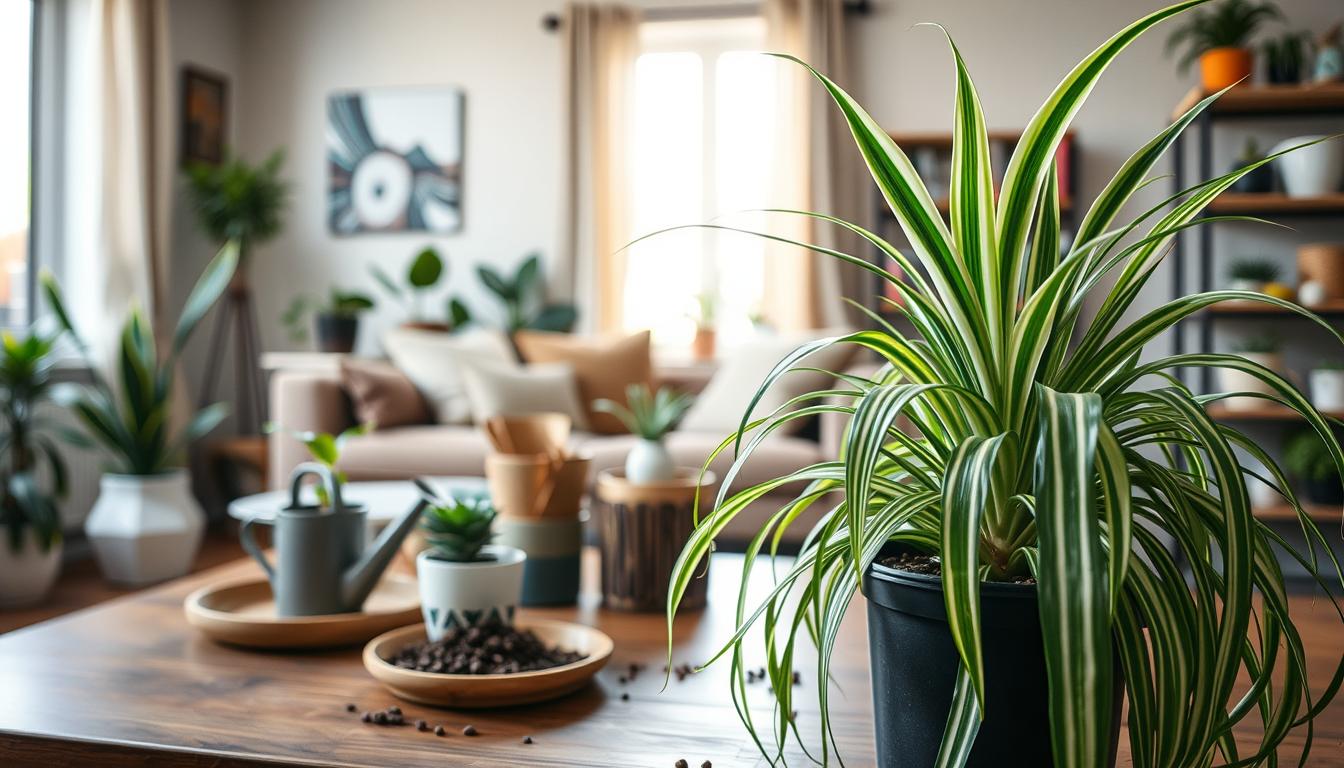
Spider plant care is wonderfully straightforward. Ever walked into a room and seen a lush, cascading plant that seems to dance? That’s the magic of the spider plant, or Chlorophytum comosum. It’s a houseplant that has won the hearts of many for years. These plants are not just beautiful—they’re also very forgiving.
When I first got my spider plant, I was amazed by its strength. It could produce cute baby plantlets, or spiderettes, over and over. If you want to learn how to care for a spider plant or grow your indoor garden, this guide is for you.
Native to South Africa, these plants are also known as spider ivy or airplane plant. Their long, narrow leaves often have stunning patterns with white or yellow streaks. They make any indoor space look beautiful.
The chlorophytum spider plant comes from South Africa and has won the hearts of many. These plants are known for being easy to care for and looking great. They are perfect for both experienced gardeners and beginners, adding life to any room.
Spider plants are loved for many reasons:
These plants help clean the air by removing toxins like formaldehyde and carbon monoxide. Their design makes them look like a living mobile when hung in baskets. The spiderettes add a touch of elegance with their long stems.
The chlorophytum comosum species has many interesting varieties:
Each variety of spider plant adds its own special touch to your home. They are great for anyone looking to explore the world of chlorophytum spider plant care.
To care for your spider plant, you need to know its specific needs. Understanding the right conditions is key to making your plant thrive at home.
Spider plants need bright to moderate indirect light. Direct sunlight can harm their leaves, causing scorching and color loss.
Spider plants love temperatures common in homes. Most homes offer the perfect conditions without extra work.
Keep your spider plant away from cold drafts and heating vents. Consistent temperatures are crucial for a healthy plant. If your home is dry, misting occasionally can help keep your plant bright and healthy.
Learning how to water your spider plant is key to its health. These plants can store water in their thick roots. This makes them more adaptable than many other houseplants. The right watering method can greatly affect their growth and health.
Finding the right balance is crucial. Here’s how to water your spider plant correctly:
Water quality is also important. Tap water can harm plants with chemicals like fluoride and chlorine. Pro tip: Use distilled, filtered, or rainwater to keep your plant healthy and prevent brown leaf tips.
Don’t let your plant get too dry. Signs of not enough water include:
In spring and summer, your plant will need more water. In winter, you can water less because it grows slower. Watch how your plant reacts to humidity, temperature, and light. These can change how often it needs water.
Remember: Consistent moisture is the secret to a thriving spider plant!
Starting with the basics is key to caring for spider plants. They need the right soil, proper food, and the right potting. These three things are crucial for their health.
Choosing the right soil is the first step. Spider plants love soil that drains well. This stops water from staying too long and causing root rot.
Look for a potting mix that’s light and full of organic matter. It should drain well and have a slightly acidic pH, between 6.0 and 6.5.
A good mix might be:
| Ingredient | Percentage |
|---|---|
| Potting Soil | 50% |
| Perlite | 25% |
| Coconut Coir | 25% |
Fertilizing spider plants should be done carefully. They don’t need a lot of food but do well with some during growing seasons.
Here’s how to fertilize them best:
Repotting is needed when the roots get too crowded. Choose a pot that’s only 1-2 inches bigger than the old one. This prevents the plant from growing too big too fast.
Pro tip: Spider plants that are a bit root-bound often produce more plantlets. So, don’t rush to repot them too soon!
Propagating spider plants is fun and simple. You can grow more plants with little effort. These plants produce baby plantlets, or spiderettes, making it easy to spread them around.
There are a few ways to propagate spider plants successfully:
The best time to propagate spider plants is in spring and summer. During these seasons, your plant will grow new plantlets quickly and healthily.
Before you start, make sure you have these tools:
Each method has its own benefits. Water propagation lets you see roots grow. Soil propagation creates stronger roots. Plant division helps manage big plants and creates new ones.
Pro Tip: Always sanitize your cutting tools to prevent potential disease transmission between plants.
Spider plant propagation is a fun and rewarding process. It lets you grow new plants from your current spider plant. Water propagation is a cool way to do this, making it easy and visually appealing.

Water propagation is the quickest way to root spider plant babies. It turns small spiderettes into full plants in a simple, magical way.
Before you start, get these things ready:
Rooting a spider plant in water takes 7-10 days. Look for white roots coming out of your spider plant baby. This process is fascinating, so be patient.
Wait until the roots are 2-3 inches long before moving your spider plant baby to soil. This helps the roots grow stronger and increases the chance of success in its new home.
Pro tip: Handle your spider plant baby gently when transplanting. Choose a potting mix that drains well and give it consistent care to help it grow well.
Propagating spider plant babies in soil is a great way to grow new plants. Start by picking plantlets with small root nodes at their base. These nodes are key for their growth.
You can use two main methods to propagate spider plants in soil:
Keep the soil moist but not too wet. Roots should grow in 2-3 weeks. Pro tip: Be patient when growing spider plant babies in soil!
“The secret to successful spider plant propagation is providing the right conditions and letting nature do its work.” – Plant Propagation Expert
It’s important to watch your spiderettes closely. Look for signs of growth and adjust their care as needed. With the right care, you’ll soon have new spider plants for your indoor garden.
Spider plant care can be tricky, even for experts. Knowing the common issues helps keep your plant healthy. Problems like brown tips and few spiderettes have easy fixes.

Brown tips on spider plants are common. They can come from many things:
To fix brown tips, try these steps:
Love your Snake Plant? Easily make more! Try the visually rewarding method of water propagation detailed here, along with 4 other easy-to-propagate plants.
Not getting spiderettes? Several things might be wrong. Mature plants typically start generating spiderettes under specific conditions. Here are some reasons for spider plant problems:
“A slightly rootbound spider plant often produces more babies than a plant with excessive space.”
Knowing these common issues helps keep your plant healthy. It will grow and produce babies beautifully.
After you’ve successfully grown new spider plants, they need extra care. The first weeks are very important for their growth. This is when they start to develop well.
When looking after baby spider plants, remember these important points:
Starting with new spider plant care means understanding their needs. Place them in a spot with soft, filtered light. Direct sunlight can harm their young leaves. So, choose bright, indirect light instead.
Watering is key during this time. Keep the soil moist but not too wet. Water when the top inch of soil feels dry to the touch. Use water that’s free from harsh chemicals to help them grow strong.
Humidity is also important for new spider plants. Here are ways to increase moisture:
During the growing season, feed your plants with a weak liquid fertilizer once a month. Watch for signs of stress like yellowing or browning leaves. This could mean they need more water or nutrients.
Being patient is crucial when caring for new spider plants. With the right care, they will grow strong and beautiful. They will also produce their own spiderettes.
Learning how to care for spider plants makes you a pro at indoor gardening. This guide gives you all the tools you need to grow spider plants well. You’ll learn about their basic needs and how to easily make new plants.
With this knowledge, you can make your home look amazing with spider plants. They look great in hanging baskets or on shelves. They add life and greenery to any room.
Watching your spider plants grow is very rewarding. Each new plant is a chance to grow your collection and get better at caring for plants. With a little patience and practice, you’ll have a bunch of these beautiful plants.
Good spider plant care is all about paying attention, learning, and enjoying it. Your adventure is just starting. Keep trying new things, like different ways to make new plants. Watch as your plants grow and thrive in your home.