Physical Address
304 North Cardinal St.
Dorchester Center, MA 02124
Physical Address
304 North Cardinal St.
Dorchester Center, MA 02124
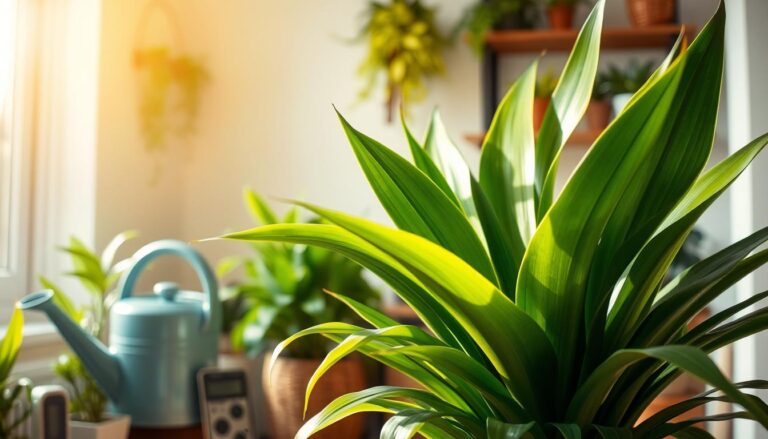
Repotting Dracaena is key to its health. Summer sunlight fills my room, making my dracaena look even greener. I noticed its roots sticking out, showing it needed a bigger home. Every plant tells us what it needs, and listening can make our gardens better.
Repotting is more than just a chore. It’s a way to give your dracaena a fresh start. Knowing when and how to move your plant can make all the difference. It can turn a struggling plant into a thriving one.
Knowing when to repot your Dracaena is key to keeping it healthy and helping it grow strong. Dracaena plants show signs when they need a bigger pot. Plant owners can spot these signs easily.
Good plant care means knowing your Dracaena’s growth patterns. It’s important to notice when it’s too big for its pot. Being root-bound can harm your plant’s health.
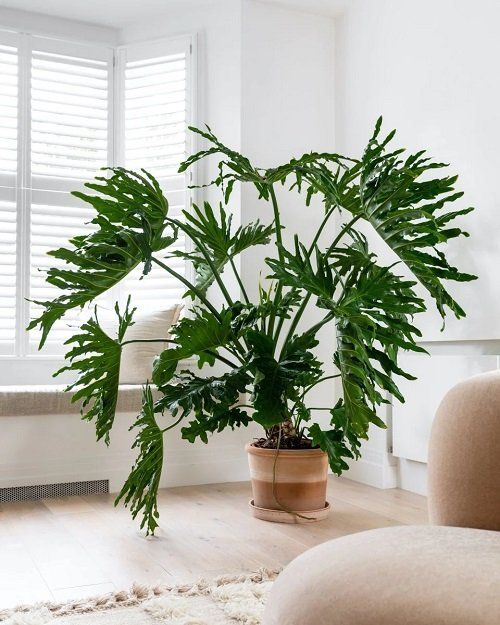
The best time to repot your Umbrella Plant is in **early summer**, during its peak growth period. This timing minimizes shock, just as it does for Dracaenas and other tropicals.
Here are clear signs your Dracaena needs a new pot:
Look out for these important signs that your Dracaena needs a bigger pot:
| Symptom | Potential Impact |
|---|---|
| Roots pushing against pot edges | Restricted nutrient absorption |
| Yellowing leaves | Nutrient deficiency |
| Reduced plant vigor | Limited growth potential |
Pro tip: Check your Dracaena’s roots annually to prevent potential growth restrictions.
Fixing root-bound issues quickly helps your Dracaena stay healthy. It keeps your plant looking great and thriving.
Timing is key when repotting your dracaena. The best time is late spring to early summer. This lets your plant grow new roots fast and with less stress.
Knowing when to repot depends on your dracaena’s growth. Look for these signs:
Don’t repot in winter. Your plant needs warmth and light to recover well. Wait until it’s warm and your dracaena is growing fast.
Experts say repot every 2-3 years for health. This stops roots from getting stuck and gives new nutrients. Younger plants might need more frequent repotting.
Pro tip: Always choose a slightly larger pot – about 1-2 inches wider in diameter than the current container.
Keep an eye on your plant’s growth. Adjust your repotting schedule as needed. Every dracaena is different, based on its type and where it lives.
Finding the perfect pot for your dracaena is key for its health and looks. The right size helps it grow strong and prevents issues like root rot and slow growth.
The size of the pot really matters for your dracaena’s well-being. A pot that’s too big can hold too much water, leading to root rot. But a pot that’s just right lets you water without wasting water or causing soggy soil.
When it’s time to move your dracaena to a bigger pot, here’s what to do:
| Plant Size | Recommended Pot Size Increase |
|---|---|
| Small to Medium Plants | 1-2 inches in diameter |
| Large Dracaenas | Up to 2 pot sizes (e.g., 10 to 14 inches) |
Bigger dracaenas can handle more space because they have bigger roots. Make sure every pot has holes for drainage. Even though they can handle being a bit root bound, they need room to grow.
Don’t forget, repotting with the right size is crucial for your dracaena’s health. It will grow strong and look amazing.
Creating the perfect soil mix is key for your dracaena’s health. It’s all about finding the right balance. This balance ensures good drainage and nutrition.
Your dracaena does best in a soil mix made just right. Here are some top picks:
Start with a peat-based potting soil made for indoor plants. This gives you a solid base for your mix.
“The right soil mix can transform your plant’s health from surviving to thriving.” – Plant Care Experts
Stay away from heavy, dense soils. They can harm your plant’s roots. Instead, aim for a light, airy mix that lets roots breathe and grow.
Adding coco coir can help keep the soil moist but fluffy. Compost or worm compost adds nutrients slowly, helping your plant grow steadily.
By choosing and mixing your soil carefully, you’ll give your dracaena the best chance to thrive.
Repotting your dracaena needs careful steps and gentle care. This guide will help you move your plant to a new pot safely. You’ll learn how to do it without stressing or harming your plant.
First, set up your work area. Place a plastic bag or towel to catch any soil. Pick a pot that’s 1-2 inches bigger than the old one. Water your dracaena the day before to keep the roots moist.
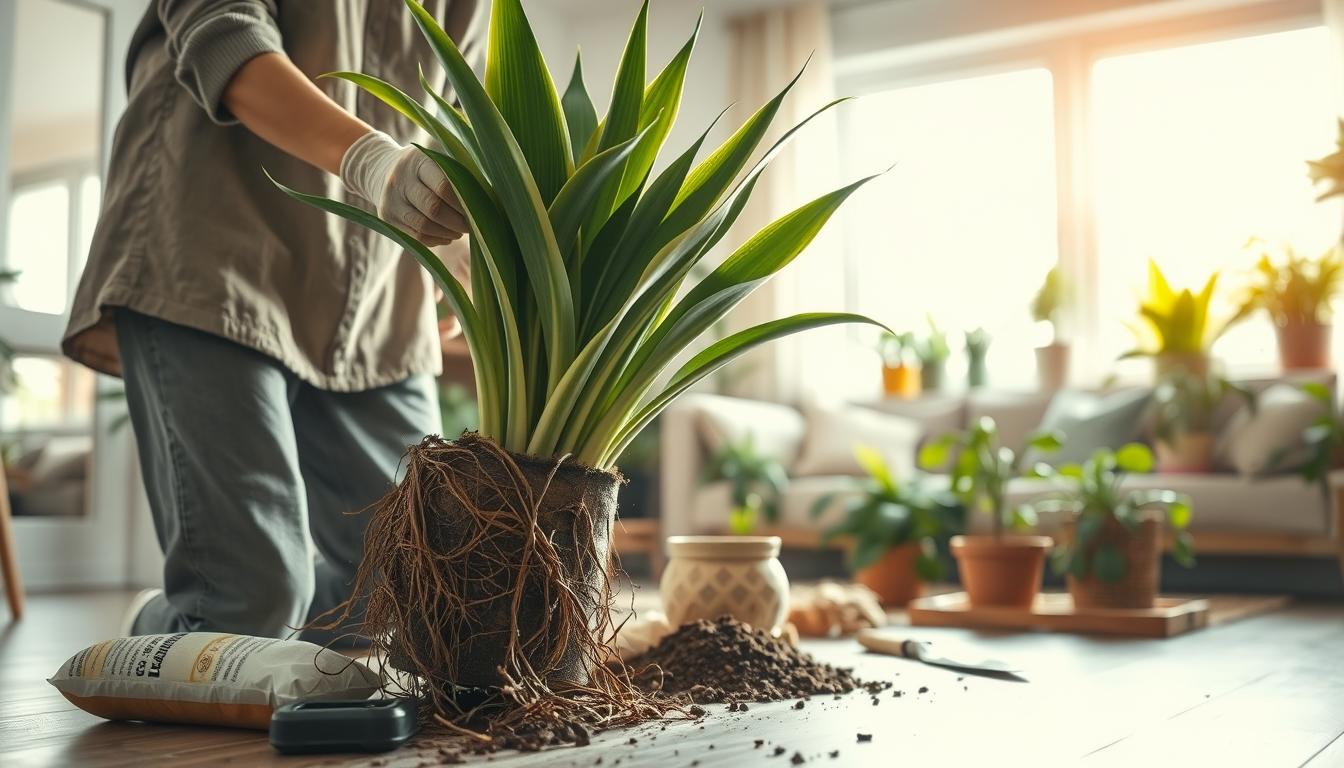
Support the plant’s base when taking it out. Turn the pot on its side and gently tap it. Loosen the roots without pulling on the stems.
Look at the roots after taking them out. Cut off any damaged or soft roots with sanitized scissors. Gently massage the root ball to loosen compacted roots. This helps the roots grow better in the new pot.
Here’s how to put the plant in its new home:
| Repotting Stage | Key Actions |
|---|---|
| Preparation | Gather tools, water plant day before |
| Removal | Support base, gently extract from pot |
| Root Inspection | Trim damaged roots, loosen root ball |
| Replanting | Proper positioning, soil fill, watering |
Pro tip: Don’t cover the plant canes too much. Keep the soil level within 1 inch of the original root ball height for best results.
Repotting big dracaena plants needs careful planning and teamwork. One person can hold the plant’s canopy and main stems. The other can loosen and remove the root ball from its container. This way, the transplanting is smooth and safe.

For big pots that can’t be tipped, you’ll need special techniques. A trowel or kitchen knife is your best tool. Use it to separate the root ball from the pot’s walls. Work all around the pot, sliding the tool down to loosen the bottom.
“Sometimes, laying the entire pot-and-plant combination on its side makes extraction easier, allowing gravity to assist you.”
With very large plants, you might have to take drastic steps. For dracaenas that are too stuck, cutting the old pot might be needed. To move your plant safely, consider using:
Pro tip: Always prioritize your back’s safety and protect your floors during the moving process.
After repotting your dracaena, it’s important to take good care of it. The first few weeks are crucial for your plant to adjust and grow. How you care for it during this time can greatly affect its health and growth in the future.
After repotting, your dracaena needs special care with watering. Start by watering just around the original root ball. This helps prevent the new soil from getting too wet before the roots grow into it.
Watering needs change with the seasons. In warm months, water every 8-14 days. In winter, you might only need to water every 3-4 weeks. Gradually expand your watering area as roots colonize the new soil.
Place your dracaena in bright, indirect light. An east or north-facing window is perfect. These plants can handle lower light but grow better in brighter conditions.
Keep the temperature between 65-85°F to help roots grow. Aim for humidity levels of 60-70% to reduce stress. You can use a humidifier, mist, or a humidity tray to help your plant recover.
“Patience and attentive care are key to helping your dracaena thrive after repotting.” – Plant Care Experts

Repotting can stress your dracaena plant. It’s important to handle roots carefully to prevent transplant shock and help your plant recover.
Here are some key steps to protect your plant’s roots:
Understanding root sensitivity is key to preventing transplant shock. Roots are very fragile and can be stressed by rough handling. Make sure the new pot is the right size—roots need room to spread out but not too much.
After repotting, put your dracaena in a spot with bright, indirect light and good air circulation. This helps it recover and adjust to its new home. Avoid direct sunlight, which can further stress the plant during this vulnerable period.
Reduce fertilization for 6-8 weeks after repotting. The fresh potting mix already has nutrients, and extra fertilizer can harm stressed roots. Water carefully, checking soil moisture often and watering only when the top soil is dry.
Expect some temporary leaf drop or wilting—this is normal. Most dracaenas recover fully in 2-4 weeks with consistent, gentle care. Patience is key to helping your plant adjust to its new home.
Repotting your dracaena can be tricky. Many plant owners make mistakes that harm their plants. Knowing these mistakes helps keep your plant healthy and thriving.
When you repot, you move your plant’s roots to a new place. This process needs careful attention to avoid damage.
Don’t repot in extreme seasons. Winter and summer heat can stress your dracaena. It needs the best conditions to recover.
Rough handling can hurt your dracaena. While they’re tough, they can’t withstand too much damage. Be gentle when repotting to help your plant grow and stay healthy.
Repotting your dracaena might seem tough at first, but it’s easy once you get the hang of it. Spotting when your plant needs a new home is key. Choose the right pot size and soil mix to help your dracaena grow strong.
Dracaenas are tough plants that handle repotting well. Spring or summer is the best time to do it. This lets your plant bounce back fast and grow strong.
Repotting is a chance to check your plant’s health and give it the best care. With the right knowledge, you can make repotting a rewarding experience. Check your plant and get ready to help it grow even more.
Every time you repot, you’re giving your dracaena a new beginning. Be confident in your skills and watch your plant flourish in its new home.
If roots are coiled tightly and draining poorly, repotting may be the cure—but only at the right time of year. Don’t shock a stressed plant in winter.