Physical Address
304 North Cardinal St.
Dorchester Center, MA 02124
Physical Address
304 North Cardinal St.
Dorchester Center, MA 02124

Bird’s nest fern care transforms any space into a tropical retreat. Watching a plant change your space is magical. Bringing home a Bird’s Nest Fern brings tropical paradise into your life. Their crinkled fronds bring calm and beauty.
Caring for tropical plants can seem daunting. But Bird’s Nest Ferns are more forgiving than they appear. With the right care, you can grow stunning fronds that thrive.
This guide covers everything you need to know. Learn about lighting, watering, humidity, and pest control. By the end, caring for your fern will feel easy and rewarding.
Bird’s nest ferns bring a tropical feel to your home. They are known for their unique look and how they grow. This makes them a favorite among plant enthusiasts in the United States.
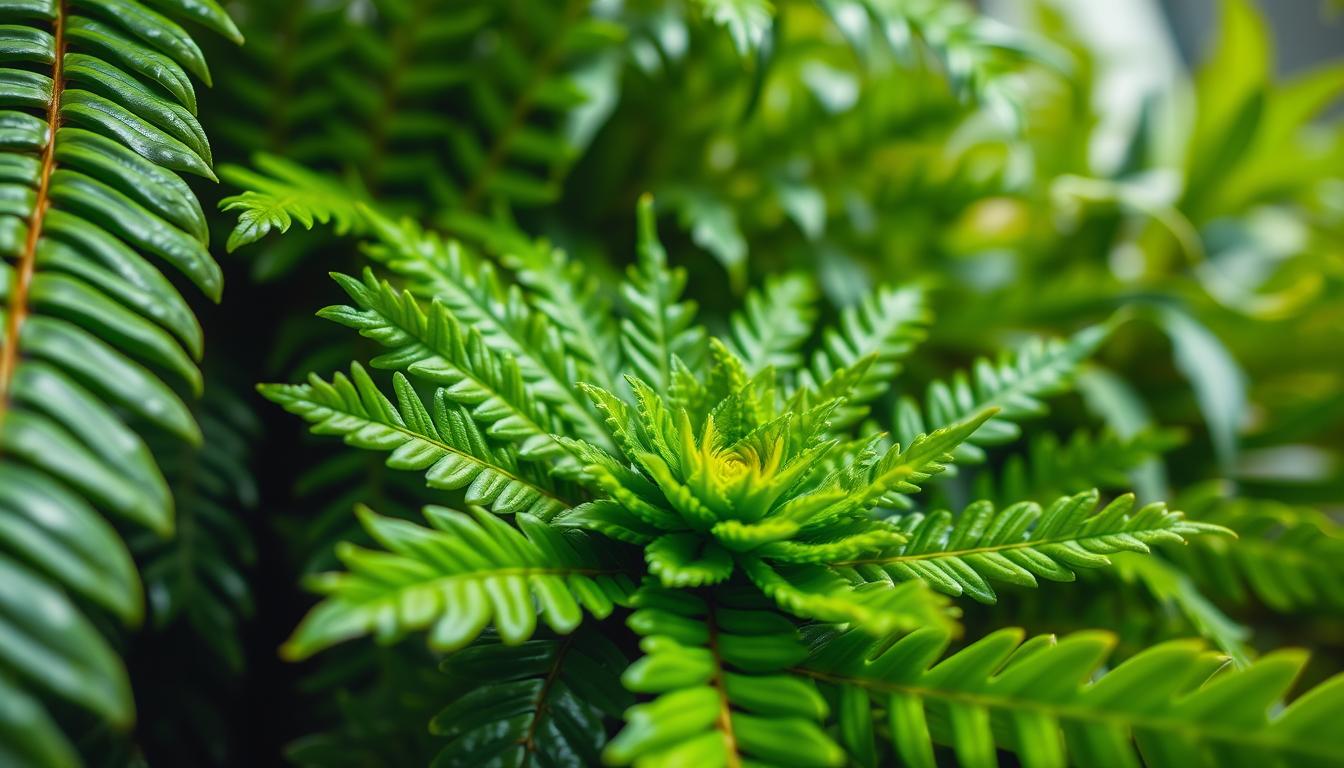
The fern’s name comes from its leaf shape, which looks like a bird’s nest. Its leaves have wavy edges that add texture to any room. As it grows, the leaves stretch towards the light, creating a lively display.
For a fern that’s more forgiving than most, try the Bird’s Nest Fern. Its glossy, wavy fronds add lush texture to low-light spaces and tolerate occasional missed waterings.
Bird’s nest ferns are special because they grow on trees or rocks, not in soil. This unique way of growing affects how you care for them. They have aerial roots that help them cling to surfaces, making them different from other plants.
Each frond has a central rib that helps collect water and nutrients. Your fern will show this adaptation with its own central gathering point.
There are many bird’s nest fern varieties, each with its own traits. Knowing about these varieties helps you understand your fern better.
| Fern Variety | Origin | Leaf Characteristics | Special Notes |
|---|---|---|---|
| Asplenium nidus | Eastern tropical Africa, northern Australia, and tropical Asia | Light to medium green, smooth waxy texture | Most popular houseplant variety |
| Asplenium australasicum | New South Wales and Queensland, Australia | Yellowish-green with prominent boat keel-like central rib | Young greens used as vegetables in Taiwan |
| Asplenium antiquum | Temperate eastern Asia | Longer, narrower fronds than nidus | Endangered in wild, commonly available as houseplant |
| Asplenium serratum | Caribbean, Brazil, and Florida | Deeply crinkled edges, distinctive wavy appearance | Considered endangered in Florida, wild bird’s nest fern |
Asplenium nidus is the most popular choice for indoor gardens. Its green leaves and size make it great for shelves. Asplenium australasicum is for those who want something different, with its yellowish-green leaves and unique rib structure.
Asplenium antiquum has a delicate look with longer fronds. It’s endangered in its native Asia, so growing it indoors helps save the species. Asplenium serratum, found in the Caribbean, Brazil, and Florida, has very crinkled leaves. It adds drama to any collection.
Despite their differences, all bird’s nest ferns need similar care. They thrive with the right light, water, and humidity. Whether you have Asplenium nidus or Asplenium serratum, proper care will make it flourish.
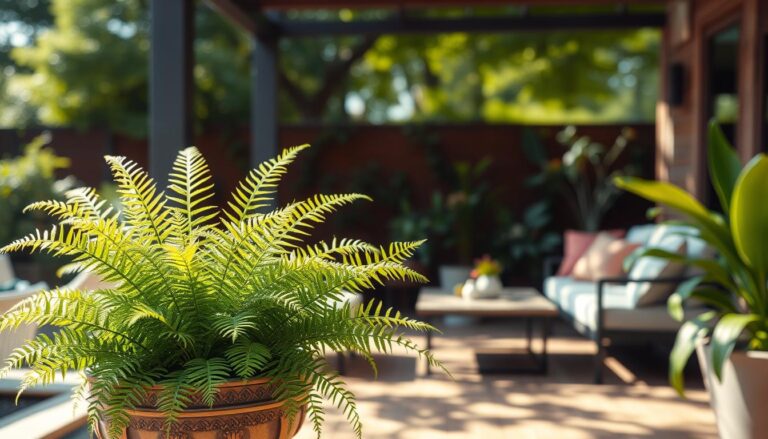
Bird’s nest ferns are great for low-light spaces. They do well indoors, making them ideal for offices, bathrooms, and rooms with little natural light. Knowing what light your fern needs is crucial for its health and beauty.
Your bird’s nest fern loves bright, indirect light. Place it near a north-facing window for gentle, consistent light. East or west windows are okay, but keep it a few feet back to avoid strong sun. A bathroom with frosted glass is also a great spot for soft light.
Pay attention to your fern’s signals to adjust its spot. Here are some signs to watch for:
Leaf crinkling shows how much light your fern gets. More light means more texture, while less light makes leaves smoother. You can adjust your fern’s look by changing its spot, adding to your home’s style.
Watering your bird’s nest fern right is key to keeping it healthy and green. These plants love moist soil but can rot if too wet. Finding the right watering schedule takes time, but it’s worth it for lush fronds that make your space feel like a tropical paradise.
Bird’s nest ferns thrive in moist rainforest environments. You want to mimic this in your home. It’s all about understanding your plant’s needs and adjusting based on your climate and indoor conditions.
Water your fern when the top inch of soil feels dry. In spring and summer, this means watering once or twice a week. In fall and winter, when growth slows, you can water every 10 to 14 days.
Check the soil by sticking your finger into it. Your fern likes moist soil but not too wet. How often you water depends on several things:
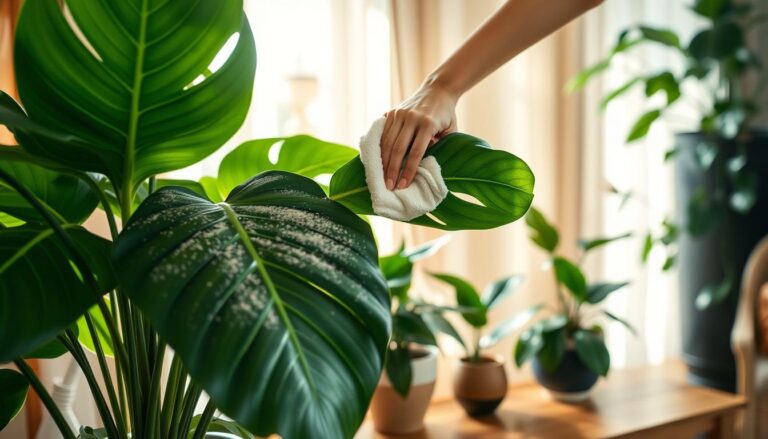
How you water is just as important as how often. Use water that’s room temperature and has sat out for 24 hours. Chlorine in tap water can harm your fern’s fronds over time.
Water at the base of the plant, not on the fronds. Watering from above can cause fungal infections and blight. Instead, water the soil around the base of your fern.
Make sure your pot has drainage holes. Standing water can cause root rot, a common problem. If water collects in your saucer, empty it after 10 minutes. Your fern needs air around its roots to thrive.
| Season | Watering Frequency | Soil Moisture Level |
|---|---|---|
| Spring & Summer | Once or twice weekly | Consistently moist |
| Fall & Winter | Every 10-14 days | Slightly drier between waterings |
Watch for signs that your watering schedule needs a tweak. Droopy fronds with brown tips mean it’s too dry. Yellow, mushy stems are a sign of too much water and root rot. Your fern will tell you what it needs through these changes, helping you fine-tune your care for optimal growth.
Bird’s nest ferns grow on tree branches in tropical rainforests, not on the ground. Your potting mix should mimic their natural habitat. The right growing medium is key to keeping your fern healthy and happy.
Standard potting soil is not good for bird’s nest ferns. It holds too much water and doesn’t let air reach the roots. This can cause rot and disease. Your fern needs a mix that drains well but still holds some moisture.
Commercial orchid or bromeliad mixes are great straight from the bag. They’re made for epiphytic plants that need good drainage. A DIY mix of peat moss, perlite, and orchid bark lets you control the texture.
Mounting your bird’s nest fern makes a stunning display. You can attach it to cork bark, driftwood, or a wooden plank wrapped with sphagnum moss. This method honors the plant’s natural growth and adds beauty to your home.
| Mix Type | Best For | Drainage Rating |
|---|---|---|
| Commercial orchid or bromeliad mixes | Container growing | Excellent |
| DIY peat moss, perlite, orchid bark blend | Budget-friendly potting | Very Good |
| Pure sphagnum moss | Mounting on cork or wood | Excellent |
For outdoor growing in warm climates, add a thick layer of organic mulch around the base. This keeps the humidity levels the plant needs while providing slow-release nutrients as the mulch decomposes. The organic matter breaks down slowly, feeding your fern naturally.
Your bird’s nest fern will thrive with the right air circulation for its roots. Loose, chunky mixes are better than dense soils. Spend time on the foundation, and your fern will reward you with lush, beautiful fronds.
Your bird’s nest fern loves warm, humid air, just like its tropical home. Getting the temperature and humidity right is key to a healthy plant. Feeding it is also important, but less is more.
Bird’s nest ferns thrive in moist air. They need humidity levels between 50-80% to stay healthy. Without enough moisture, fronds can turn brown and curl up.
There are a few ways to increase humidity:
Temperature is also crucial. Keep your fern in a warm spot, between 60-80°F. It prefers warmer temperatures. Avoid cold drafts, heating vents, or temperatures below 55°F. Cold air can stress the plant and damage fronds.
Remember, less is definitely more with bird’s nest ferns. They are light feeders that need minimal nutrients.
Feed your fern only 2-3 times a year during spring and summer. Don’t feed it at all in fall and winter when it grows slower.
When you do fertilize, follow these steps:
| Fertilizer Type | Strength | Application Method |
|---|---|---|
| Balanced liquid houseplant fertilizer (10-10-10) | Diluted to half or quarter strength | Apply to soil around the base of the plant |
| Balanced liquid houseplant fertilizer (20-20-20) | Diluted to half or quarter strength | Apply to soil around the base of the plant |
Never spray fertilizer on the leaves. Always apply the diluted solution to the soil around the base of the plant. Your fern will absorb nutrients through its roots.
Watch for signs of overfertilization, like discolored or deformed fronds. Too many nutrients can burn delicate roots and cause more damage than nutrient deficiency. If you notice brown or yellow leaf tips, flush the soil with fresh water and reduce feeding.
“The best fertilizer for your bird’s nest fern is no fertilizer at all. These plants evolved in rainforests where nutrition comes slowly from decomposing leaves and organic matter.”
Remember, excess nutrients cause more problems than deficiency in these light feeders. When in doubt, skip a feeding. Your bird’s nest fern will thank you with strong, vibrant fronds.